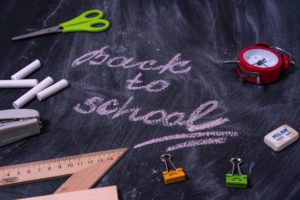
Can you believe that it’s already August?!
Maybe you’re the type of teacher who has been excited about back-to-school ever since Target started displaying the school supplies. (Is it my imagination, or does that happen earlier and earlier every year?)
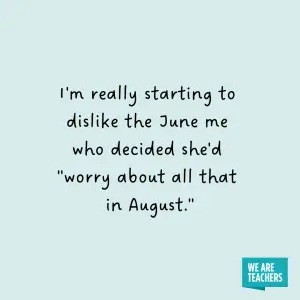
Or maybe you’re the type of teacher who feels like this:

Many teachers find themselves somewhere in between.
Back-to-school prep can feel overwhelming, but you can set yourself up for a smooth and successful start to the year.
August is the ideal time to plan for both your classroom and your well-being.
Here are five essential tasks to make sure you’re ready for the school year ahead.

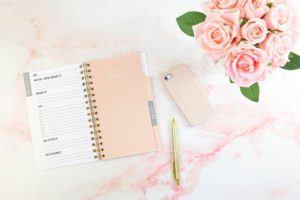
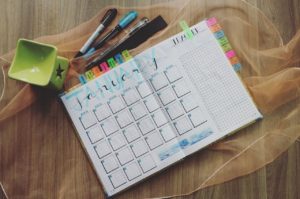
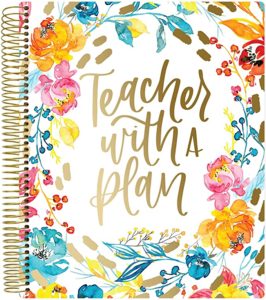
1. Buy a Good Planner
Even if you also use a digital planner, a good paper planner is your secret weapon for staying organized and reducing stress.
The right planner will help you manage all the moving parts of a busy school year. It helps you see what’s coming and what you need to prepare for at a glance without having to click a million links.
Here are a few of my favorites.
The Emily Ley teacher planner includes sections for just about everything you might need. It is also reasonably priced.
The Erin Condren Teacher Planner: This planner includes calendars, space for lesson planning, student notes, and goal-setting pages.
Many teachers love the Happy Planner Teacher Edition. This planner lets you create your own planning layouts. You can add, remove, or rearrange pages.
The Bloom Teacher Planner is another favorite. It uses a vertical planning layout (which some people prefer). The monthly calendars include lots of space for notes. I also appreciate the extra space for topics such as “notes for a sub,” student information, and field trip planning.
Choose a planner that feels comfortable for you and fits your style! (Your school may supply a generic teacher planner for you, like this one, and that might be sufficient for your needs.)
2. Reflection Questions to Prep for the School Year
Before you dive into lesson plans and classroom setup, it’s a good practice to reflect on the past year.
Here are a few questions to guide your reflection:
~What worked well last year? Think about lessons, classroom management strategies, and student engagement techniques that were successful.
~What do you want to improve? Identify areas where you want to strengthen or change up your instruction this year.
~What got on your nerves last year? (It might seem odd to reflect on the negative when you’re trying to set up for a good year, but if you can think about areas that were particularly problematic for you, then you can make a plan for what to do to help prevent that issue this year.)
~What were your most meaningful moments with students last year? Reflect on what you want to replicate to build your connections with students this year.
~How can you create a supportive classroom environment? Consider how you can foster a culture of respect and collaboration from day one.
Taking the time to answer these questions will help you think about routines, procedures, classroom set-up, and how you want to structure your first weeks of school.
If you want help with structuring your first two weeks of school (complete with lots of tips for establishing a positive classroom environment), check out my guidebook for the First Two Weeks of School in Upper Elementary Grades!

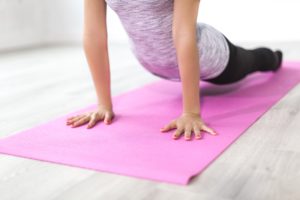
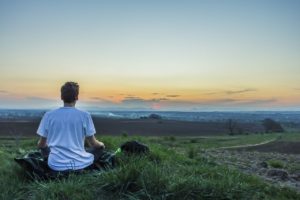
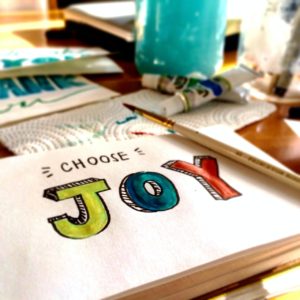
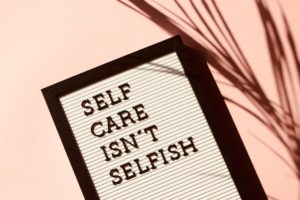
3. Self-Care Habits to Incorporate
As teachers, it’s easy to put everyone else’s needs ahead of your own, but taking care of yourself is critical for sustaining your energy throughout the year.
Here are a few self-care habits to integrate into your routine:
~Get enough rest. Sleep isn’t a luxury; it’s a necessity. Create a bedtime routine that allows you to get 7-8 hours of sleep each night.
~Exercise regularly: Even a quick 10-minute walk can help clear your head and boost your energy.
~Set boundaries: Leave school at a reasonable time when possible, and take breaks during the day when possible. (Even doing some deep breathing while you’re in the restroom can help you reset.)

~Practice mindfulness: Incorporate a short mindfulness or meditation practice to reduce stress.
~Stay hydrated and eat well: Focus on eating more nutrient-rich foods (more fruits and vegetables and protein, less junk food) and staying hydrated to keep your energy levels up.
Prioritizing your own health and well-being makes you a better teacher, wife/partner, mom, etc. Take care of yourself!
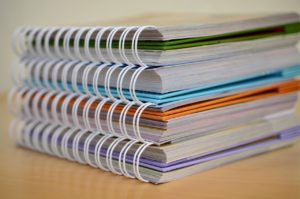
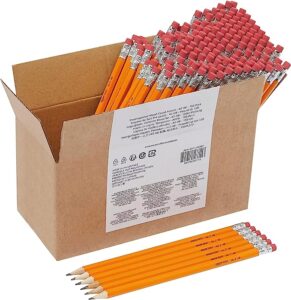
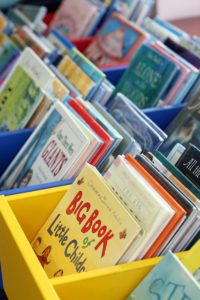
4. Supplies to Buy for Your Classroom
While back-to-school sales can be tempting, it’s important to prioritize what you need. (And see if your school or district or PTA/PTO provides these supplies or money to purchase them.)
Here’s a printable list of essential supplies for the start of the year. And here is a link to a blog post about first year teacher supplies.
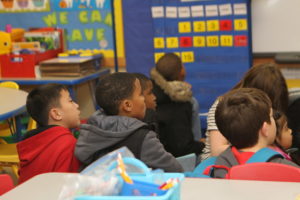
5. Classroom Procedures to Think About
Establishing clear routines and procedures from the start will make a huge difference in your classroom management.
Consider the following areas as you plan out your procedures.
~Classroom expectations: What are your rules for respect, responsibility, and cooperation? Consider creating a visual poster or chart to remind students.
~Transitions: How will you move from one activity to the next? Think about how you’ll guide students through transitions in an orderly and efficient manner.
~Early finishers: What will students do when they finish their work early? Have a list of tasks or challenges ready for them to complete independently.
~Morning routine: How will students enter the classroom? Will they unpack, check in, or begin a morning task? Create a consistent routine.
~Classroom jobs: Think about assigning students specific responsibilities, such as handing out materials, taking attendance, or organizing supplies.
Being proactive about procedures is so important! It will minimize chaos in your classroom and sets students up for success because they know what you expect.
Here are some helpful resources for you!
My free course on classroom procedures
My free resource for teaching classroom procedures
My free classroom procedures review activity on TPT
If you want more help and support, take a look at my Back to School Planning guidebook and my Upper Elementary Teacher’s Guide to the First Two Weeks of School.

Wrapping It Up
August is the perfect time to set yourself up for a successful school year.
Get a good planner, reflect on your goals, prioritize a self-care plan, stock up on essential supplies, and plan your classroom procedures.
All of these activities will help create a solid foundation for a smooth start.
Here’s to a fantastic school year ahead!

All of my content is intended to save teachers time and energy. My goal is to make good teaching sustainable while having a life outside of teaching. Let me know how I can help YOU with this quick form!